Guest house blueprints with skylights for natural light
Guest house blueprints with skylights can turn a compact secondary dwelling into a bright, calm retreat rather than a dark leftover room. The essential move is to coordinate the floor plan, roof form and daylight openings as one design, so circulation, sleeping areas and wet spaces all receive useful light without wasting energy.
For Australian homes, that coordination must also respond to local block size, summer heat, rainfall and planning rules. A plan that works in a spacious regional property may need a very different section in a narrow Melbourne laneway or a humid Brisbane backyard. The following blueprint guide explains how to shape light, structure and comfort from the outset.
Plan the site before drawing rooms
Begin with a scaled survey showing boundaries, easements, services and the direction of true north. In Sydney and Melbourne, narrow lots and terraces often leave little side clearance, so the guest house may sit behind the main house, beside a garage or over a rear section of the footprint. Mark those constraints before deciding where the skylight can go.
Set the main glazing and living areas toward the best outlook rather than toward a blank fence. In Perth, intense western sun makes east and north orientation especially valuable, while deep overhangs protect broad openings. Brisbane’s subtropical conditions call for shade, cross-ventilation and roof overhangs that can handle strong summer rain.
Check the council’s planning scheme, setback rules and any heritage or tree controls early. A separate dwelling may need approval, and what locals call a granny flat can involve extra requirements for parking, accessibility, fire separation or rental use. Recording these issues on the plan prevents an attractive sketch from becoming an unbuildable one.
Shape a daylight-first floor plan
Place the bed, bathroom and kitchen close together to reduce circulation, then use the living zone to capture the strongest view and daylight. A compact 20–25 square metre plan can include a sleeping alcove, compact kitchenette, bathroom and a small sitting area if doors, joinery and storage are carefully resolved.
Keep the bathroom on an exterior wall for a reliable window and efficient pipe runs, while locating the bed away from a bright active kitchen if privacy matters. Full-height glazed doors can borrow light between zones, but openings should be positioned so they do not expose the bed to headlights, early sun or a busy path.
Draw furniture, not just walls, at blueprint stage. A bench beside a window can block its lower light, and a tall wardrobe can make an otherwise generous room feel tight. Where space is extremely limited, consider a wall bed, nested tables and sliding screens, then allow the daily paths through the room to remain clear.
Bring daylight through the roof
Skylights work best when the plan explains why each one is needed. Use larger roof openings above the living area and shared circulation, smaller clerestories for privacy, and an opaque or shaded unit above a bed if direct sun would be distracting. This hierarchy creates brighter social spaces without turning every room into a conservatory.
A tubular skylight suits a flat or low-pitch roof, while a flat rooflight fits a compact modern plan and a pitched roof window may suit a cottage or cabin. Each has different implications for ceiling height, drainage and cleaning. Roof windows can provide an outlook and operable ventilation; fixed lights are generally simpler and more economical to seal.
Control summer heat with external shading, insulated frames and low-emissivity glazing rather than relying only on a blind indoors. Roof glazing that faces south can provide stable diffuse light in the Australian climate, while north-facing roof lights need careful seasonal shading. Add a switch or sensor for the lighting so the room can be used at low levels after sunset.
Build a resilient roof and structure
The roof section belongs in the first blueprint, not as an afterthought. Trusses, rafters and beams must be coordinated around roof lights so no major member has to be cut. Specify clearances around openings, suitable flashings and a fall that drains water away from the unit, with accessible details for future cleaning and glass replacement.
Insulation, sarking, ventilation and airtightness work together. Ceiling insulation helps control heat gain and loss, while a ventilated cavity and shaded eaves reduce the risk of condensation in humid weather. Ceiling fans can improve comfort in a small room, but they should complement cross-ventilation rather than promise airflow through a sealed envelope.
Local hazards need local answers. In cyclone-affected parts of northern Australia, specify products and fixings approved for the relevant wind region. In bushfire-rated areas, roof glazing, vents, eaves and external screens may need to comply with the declared Bushfire Attack Level and council requirements. These checks are more reliable than assuming a standard roof light is suitable.
Choose finishes for a bright Australian retreat
Light colours on ceilings and upper walls amplify daylight, while warm timber, stone or textured plaster soften the effect. Australian buyers often compare Colorbond steel roofing, concrete or clay tiles and hardwood options such as spotted gum or blackbutt. Select pale or reflective finishes for a sun-facing roof, subject to the dwelling’s style and council controls.
Use durable, slip-resistant tiles in wet areas and consider a linear shower, wall-hung vanity and compact joinery that leaves more floor visible. Kitchen benches in timber, stone or composite finishes can create a calm focal point beneath a roof light. Any splashback or cabinet beneath a skylight should be checked for fading from direct sun.
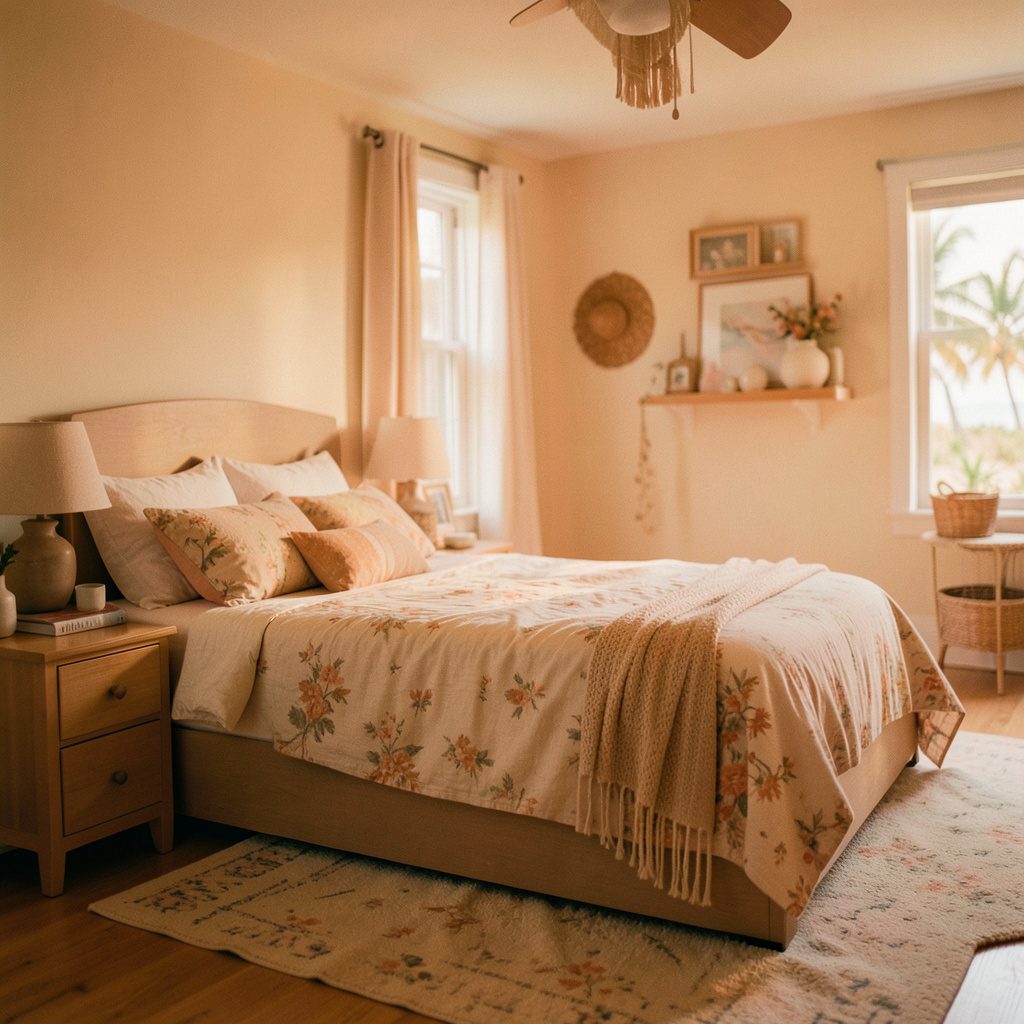
For broader visual research, compare the technical plan with guest house design ideas from Lisa Bengtsson’s Sons and with room galleries from Joebolte. Look for furniture that can move outdoors, easy-care textiles and lighting layers that work after dark. A guest house feels more inviting when the interior palette connects with the garden rather than treating it as an isolated annexe.
Bring your blueprint to life
Before construction, ask the designer to mark north, show each room’s daylight path and test the plan at both morning and afternoon times. Confirm the rooflight specification, insulation layout, drainage, ventilation and structural engineering on the drawing. A clear set of documents also makes it easier for a builder to price accurately and for a client to compare quotations.
Start with a measured site plan, then choose one guest-house layout and refine its openings, furniture and finishes around the way you will actually use it. Explore the curated Joebolte galleries, save the details that fit your climate and budget, and begin conversations with a local designer, builder and roof-light supplier.